
Hi Baycreek readers Mike here.
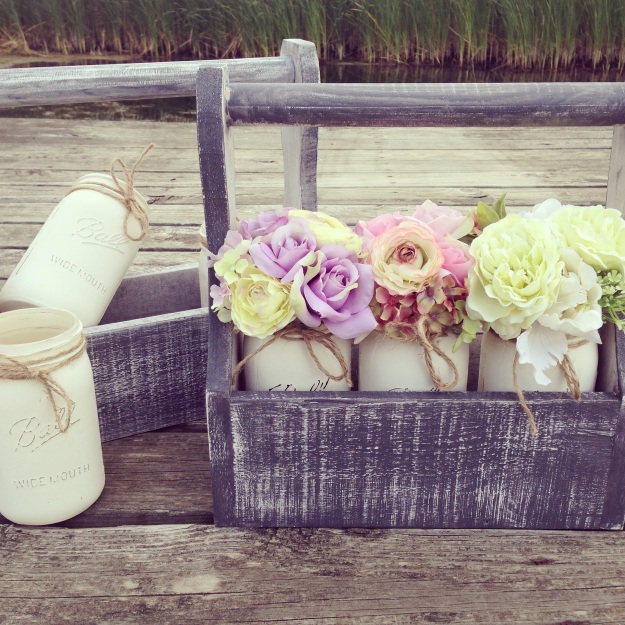
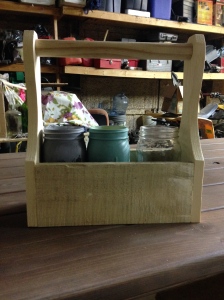
Today we are going to talk about our DIY Mason/Ball Jar Baskets. This project came about when we posted photos of our painted Mason jars. Jeanette purchased a basket as a prop to display them in and a client wanted to purchase two of them. She loved the mason jars in the vintage basket. The problem was we had bought the basket, so to sell the two sets was not profitable. It was an expensive basket so we DIYed!
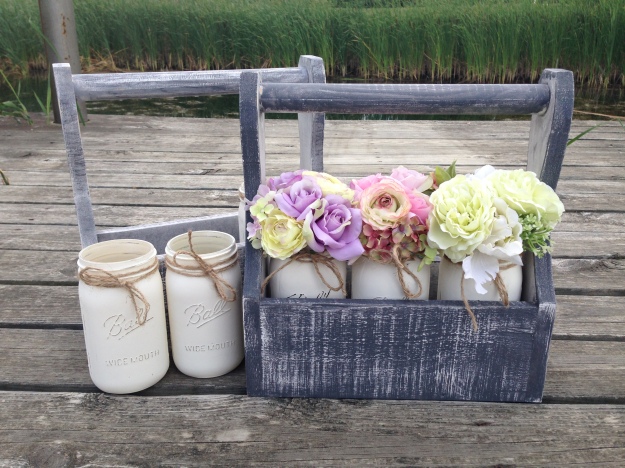
Our purchased mason jars basket. Our inspiration
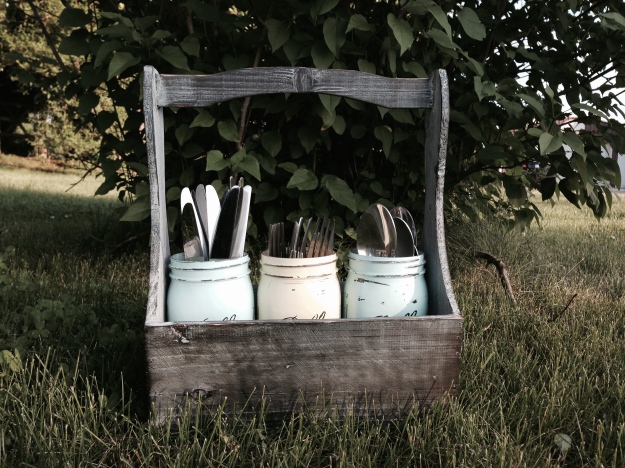
Our DIYed built basket
Here goes….
FYI- You can a acquire your lumber two ways.The thrifty way is to get a old pallet and dismantle it. Or you can go to your big box store and purchase rough sawn lumber. Dog eared privacy fence would be ideal for this application.
Your supply list-
-one- 1inch thick by 6inch wide by 8ft long board. or just a pallet or two.
-one- 3/4 round doll rod.You will only need 12inches but I believe they come in 4ft to 8ft rods.
-one- box of screws or finish nails 1 1/2 inches long. we used a pneumatic nail gun. (air powered)
-one- piece of 200 grit sand paper.
Tools needed-
-Miter box or circular saw
-tape-measure
-pencil
-jig saw or scroll saw
Building Instructions-
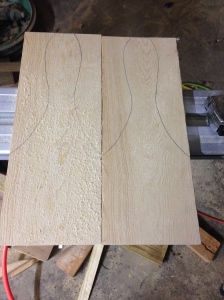
Step (1) You will need to figure out your pattern. ours is basically shaped like a bowling pin. but square at the bottom 4inches for mounting the sides to. the height of ours is 14inches, for clearance of the mason jars.
Step (2) cut two pieces of your boards to 14inches with your miter box, then cut the width to 5 1/2 inches with your circular saw. Next draw your chosen pattern these will be your sides. make sure you draw the pattern from top to bottom of the 14inches.
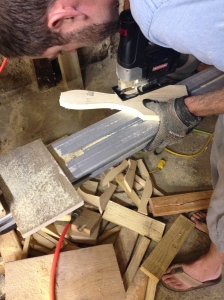
Step (3) cut your pattern out with the jig saw. try to stay on your line the best you can. for a quick sanding job later.
Step (4) Using your 1inch by 6inch piece cut two pieces at 12inches with your miter box.
Step (5) Now you need to make your two 12inch by 6inch pieces you just cut, into 12inch by 4 1/2 inch pieces you can use a jig saw or circular saw for this. either way be carful. the reason for this is to show off the label of the jars.
Step (6) sand all the rough edges of your wood pieces to remove splinters.

Step (7) start attaching your sides to the basket ends.You will be nailing through the pattern pieces into the 12inch by 4 1/2inch piece. making sure the bottoms and sides are flush with one and other. if screwing pre drill so the wood does not split. if nailing by hand start at the ends to manipulate the piece as you go.

Step (8) adding the bottom you should have a space that is 12inches by 4 1/4. double check and then cut that piece with your miter box and circular saw. the piece should fit right in the space nail or screw through all four sides 3nails per side would hold good. use your judgement.
Step (9) Cut your doll rod down to 12inches and nail through the sides of your patterns use at least to nails so the handle will not roll when you grab it. one screw per side would be fine.

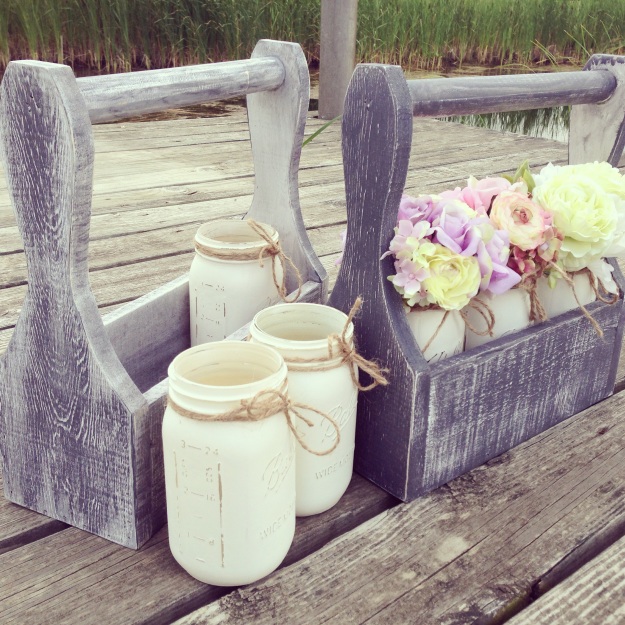
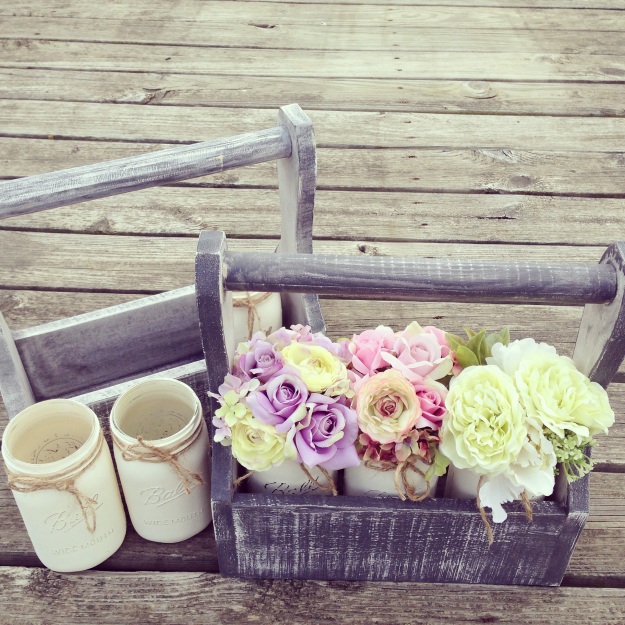
Step (10) Paint your basket and add mason jars!
finished building
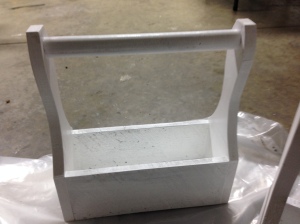
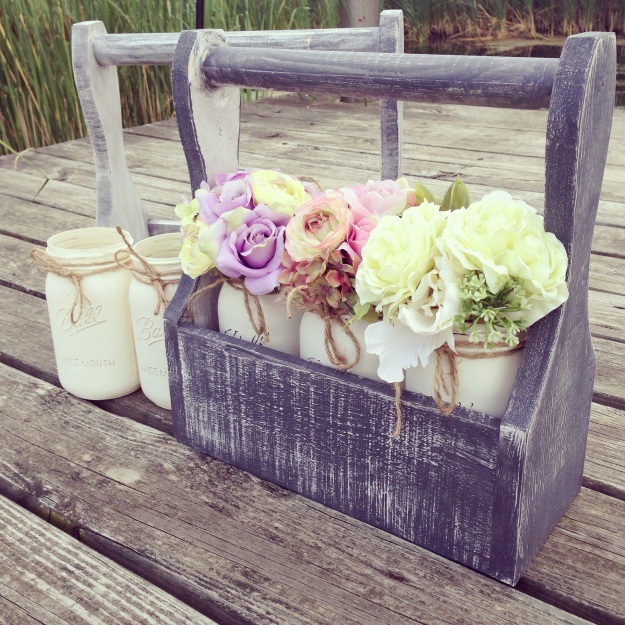
first coat of paint is white
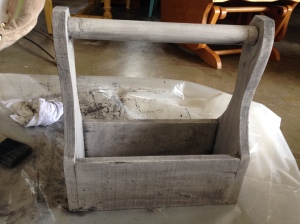
second coat of paint is a grey wash (a wash is made by mixing half paint and half water. A 50-50 ratio) this is painted on and wiped off
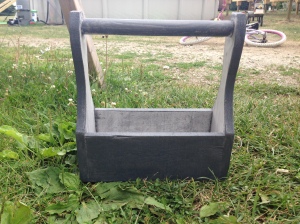
third coat of paint is the grey wash left on to dry
last step in the finish is to sand to make the basket look vintage. let the 3 colors show on the wood
Please be safe as you build and always feel free to comment or ask questions.
Tell your friends to check us out over here at Baycreek
We are Linked up! Check it out below
http://www.thegirlcreative.com/2014/07/11/link-party-diy-inspired.html

Thanks for reading.
Mike and Jeanette Marie.

Love all your work especially my piece I bought
LikeLike
Thank you! I loved your piece as well:)
Don’t forget to subscribe to the blog to win an organizing mason jar basket!
LikeLike
Love this look with the marson jars and the flowers. It would look so cute in my kitchen!
LikeLike
Aren’t they so pretty! Don’t forget to subscribe to be entered to win a free set!!!
LikeLike
I love these.mason jars! I just renovated my kitchen with a country cottage look and these would be perfect!!!!! Pick me, pick me! Lol. Love all of.you work, only if I was rich could I buy it all!
LikeLike
Thank you Jillian!
They turned out really pretty!
Don’t forget to subscribe to the blog to get exclusive updates!
LikeLike
I ABSOLUTELY LOVE THESE MASON JARS!
I love all of the pieces I have seen you refinish! I would LOVE to have a set of Mason Jars in my home! I have the PERFECT Place for them! Fingers and toes crossed I win a set!!!!! 😉
LikeLike
Thank you heather! Good luck!
LikeLike
I love all of your stuff. I can’t pick a favorite. I guess the hutch purchased. But I want more 🙂
LikeLike
That sure was a pretty piece!
Thanks for the comment:)
LikeLike
Love these mason jar baskets! Can’t wait to make one!!
LikeLike
Have fun! And let us know if you have any questions
LikeLike
these are OH so cute!! Would love to win one!! Not crafty enough to use a saw but could totally find a special spot in our home for one! 🙂 good work guys!
LikeLike
Thank you! It was fun and they turned out really pretty. I can think of millions of ways to use these to organize my house!
LikeLike
I am in love with ur products!! 🙂
LikeLike
Thank you Rachel!
LikeLike
Love the mason jars!!!
LikeLike
Thankyou!!
LikeLike
These are so cool! You have real talent n such a heart for sharing how to make. Thank you
LikeLike
Thanks Corinne! We love to create and to share our projects for others to be able to DIY awesome
Projects!
LikeLike
Love, Love, Love this! I love all your creations but this is amazing! Would love this for my house! 🙂
LikeLike
Hi Rebecca!
Glad you loved the project. And thank you for the comment
LikeLike